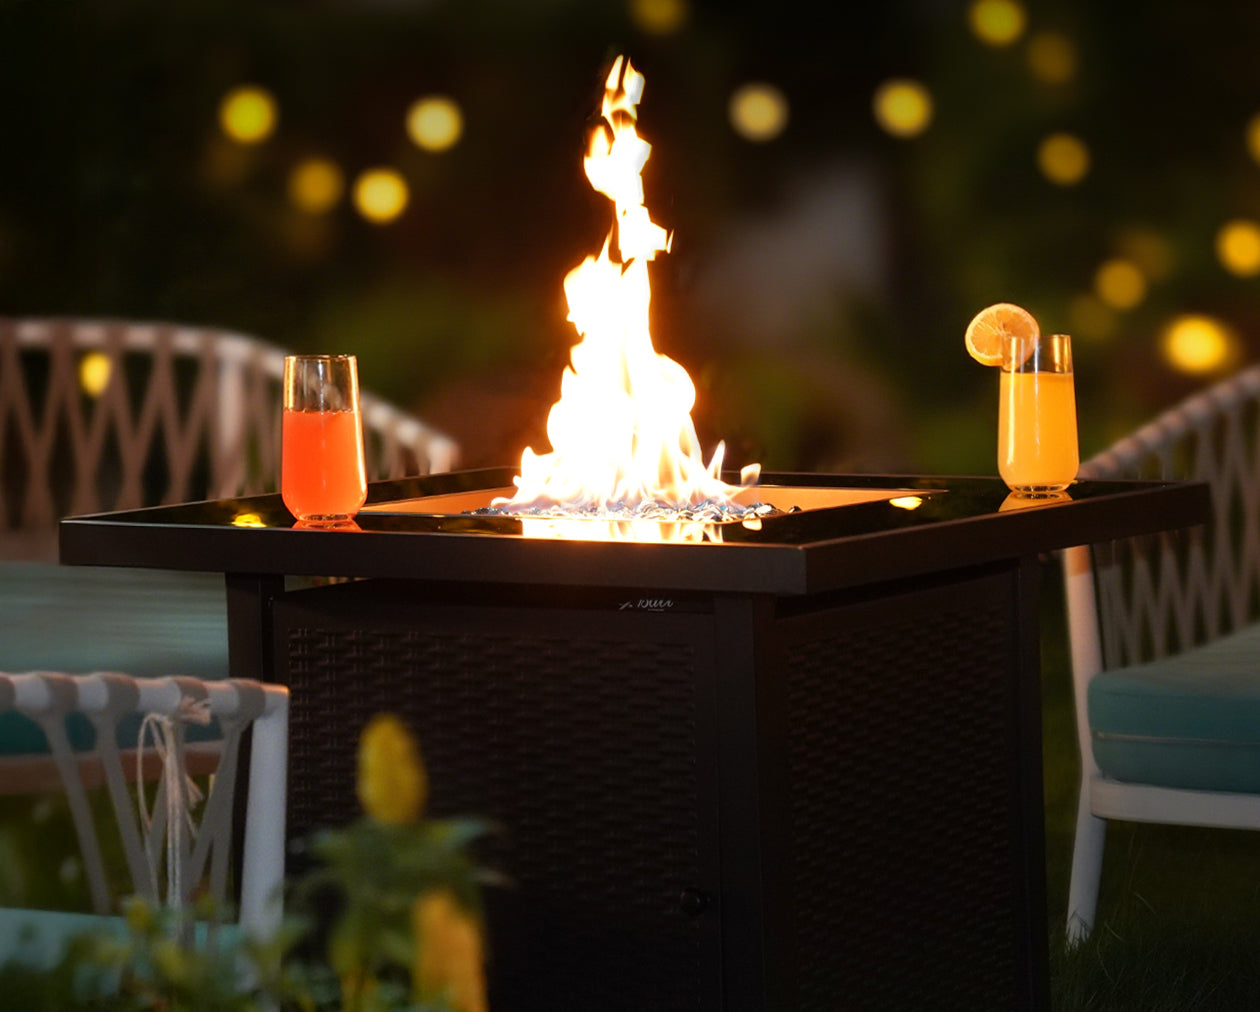


Imagine stepping into your backyard on a cool evening. You turn a key, and a ribbon of fire dances to life, casting a warm, inviting glow. You get no smoke, no ash, and no fuss. You can enjoy the simple luxury of a natural gas fire pit, a permanent upgrade that transforms your patio into a year-round oasis. This guide explains everything you need to know to bring this dream to your home.
Why Natural Gas Fire Pit?
If your home already has a natural gas line, a natural gas fire pit is your most convenient and reliable option. You connect the fire pit directly to your home's gas supply. This gives you an endless source of fuel. You will never need to refill a heavy propane tank in the middle of a party. You get a beautiful, reliable flame with the simple turn of a valve.
Natural gas also burns cleanly. You can enjoy the warmth and ambiance without smoke stinging your eyes or clinging to your clothes. When you finish, you just turn it off. You do not need to douse embers, scoop ash, or clean up soot. You get all the joy of a fire with none of the work. A fire pit table is a true upgrade for your outdoor living space.
How Much Do You Need to Install Natural Gas Fire Pit?
You must budget for two main costs: the fire pit itself and the gas line installation.
You can purchase a gas fire table kit or a finished natural gas fire table. A kit includes the burner, pan, and connections, and might cost a few hundred dollars. A complete, high-end fire table can cost several thousand.
The primary cost, however, is the professional installation of the gas line. This is not a do-it-yourself job. You must hire a licensed plumber or gas-fitter. This cost depends on several factors:
- Distance:The farther the fire pit is from your home's gas meter, the more pipe and labor you will need.
- Labor Rates:Plumbers typically charge $45 to $200 per hour, depending on your location in the USA.
- Trenching:Your contractor must bury the gas line. If the path requires digging through hard soil, patio stones, or around tree roots, the labor cost will increase.
- Permits:Most municipalities require a permit and an inspection for a new gas line, which adds a small fee.
On average, homeowners in the United States can expect to pay between $15 and $25 per linear foot to run the gas line. For a typical backyard project, the total installation cost often falls between $300 and $800, but it can exceed $1,000 for complex jobs.
How Far Should a Gas Fire Pit Be from a House?
Safety is the most important part of your installation. You must place your fire pit a safe distance from structures. This is non-negotiable. For more details, see our fire pit collection.
As a general rule, you should place your natural gas fire pit at least 10 to 20 feet away from your house. This includes all combustible materials and structures, such as:
- Your home's siding (vinyl, wood, etc.)
- Sheds or garages
- Wooden fences
- Deck railings
- Overhead structures
The National Fire Protection Association (NFPA) sets a minimum guideline of 10 feet. However, you must follow your local city or county building codes. They are the ultimate authority. Always check with your local fire department or building code office. They may require a distance of 20 or even 25 feet. You must follow these codes. This is essential for your family's safety and for your homeowner's insurance. For more details, see our guide on propane fire pit installation guide.

Where Not to Put a Fire Pit?
You must know where notto build a fire pit. This is just as important as knowing where to build one. Avoid these locations:
- On a Wooden Deck (Without Protection): Never place a fire pit directly on a wood or composite deck. Heat can cause scorching, warping, or even a fire. You must use a non-combustible barrier like a fire pit mat, concrete pavers, or a stone slab underneath it.
- Under a Covered Roof: Do not install a fire pit under a covered patio, pergola, gazebo, or any low-hanging roofline. Heat and carbon monoxide need to escape.
- Near Overhanging Branches: Look up. You must ensure there is at least 10 to 15 feet of vertical clearance. Low-hanging tree branches can easily dry out and ignite.
- In a Windy Area: You should avoid placing your fire pit in a wind tunnel, such as between two houses. Strong gusts can make the flame unpredictable and unsafe.
- Directly on Grass: Heat will kill your lawn. Place it on a stable, non-flammable surface like a stone patio, concrete, or a bed of gravel or sand.
- Over Utility Lines: This is a critical mistake. Before you dig anyhole for your gas line or fire pit foundation, call 811. This free national service contacts local utility companies. They will then mark the approximate location of underground lines (gas, electric, water, cable) on your property.
Do You Need a Professional?
Yes. We cannot stress this enough.
While you can build the fire pit's physical structure (the enclosure) yourself, you must hire a licensed and insured gas professional to run the gas line and make the final connection.
You must be careful when working with natural gas. It is extremely dangerous. An incorrect installation can lead to gas leaks, which create a high risk of fire or explosion. A professional ensures the job is done safely, correctly, and up to code. They will pull the necessary permits and arrange for the required inspections. This protects your home and your family.
This project splits into two parts:
- DIY-Friendly: You can build the enclosure, lay the paver base, and landscape the area.
- Professional-Only: A professional must trench and lay the gas pipe, select the correct pipe size for the BTU load, and connect all the fire table parts to the gas supply.

A Step-By-Step Guide of Installation
Here is a general overview of the process from start to finish.
Step 1: Plan Your Location and Design
First, choose the perfect spot. Use a tape measure to confirm your chosen location meets all safety clearances—at least 10-20 feet from your house and property lines. Decide on the shape, size, and material for your fire pit. Will you use a pre-made gas fire table kit or build a custom enclosure from stone or concrete blocks?
Step 2: Call 811 Before You Dig
This is a legal requirement and a critical safety step. Call 811 at least a few days before you or your contractor plan to dig. They will mark all underground utility lines so you can dig safely.
Step 3: Hire Your Gas Professional
Contact several licensed plumbers or gas-fitters in your area. Get written quotes that detail the cost of trenching, running the gas line from your meter to the fire pit location, and connecting the burner.
Step 4: Prepare the Foundation
While your professional handles the gas line, you can prepare the base. Your fire pit must sit on a level, non-combustible surface. This could be an existing concrete patio. If you build it on your lawn, you must create a foundation of gravel, sand, or concrete pavers.
Step 5: Build the Enclosure
This is the structure that houses the burner. You can build it from concrete blocks, stone veneer, or brick. It must be strong, stable, and made entirely of non-combustible materials.
Step 6: Install Critical Ventilation
This is a vital step that many people miss. You mustvent your fire pit enclosure. Natural gas is lighter than air, so it will rise. You must install at least two vents (minimum 18 square inches each) on opposite sides of the enclosure. Place them high up, just below the burner pan. The vents allow any potential leaking gas to escape. They also provide airflow to prevent heat from damaging the internal parts.
Step 7: Install the Fire Pit Kit
Your gas professional will complete this step. They will securely install the fire table parts—the burner pan (which holds the media) and the burner. They will run a flexible gas hose from the burner to the main gas pipe. They will also install a key shut-off valve on the outside of the enclosure. You can use this valve to control the flame and shut off the gas completely.
Step 8: Add Fire Media
Once the installation is complete, you can add the fire media. You should start with a base layer of fire-grade lava rock to cover the burner. This layer helps disperse the gas for a more natural-looking flame. You can then top the lava rock with decorative fire glass. This glass comes in many colors to match your patio decor.

Final Check for Safety
Your professional contractor will perform the most important safety check: the leak test. After connecting all gas lines and fittings, they will turn on the gas and spray every joint and connection with a soapy water solution.
If bubbles appear at any connection, it indicates a gas leak. They will immediately turn off the gas, tighten the fitting, and test again until there are zero bubbles. You should never operate a fire pit until it has passed this leak test.
How to Maintain a Natural Gas Fire Pit
Your natural gas fire pit is low-maintenance, but not no-maintenance. You should follow these simple steps to keep it safe and beautiful for years:
- Keep it Clean: You should regularly clear leaves, twigs, spider webs, and other debris from the burner area. Clogged burner ports can create an uneven or weak flame.
- Use a Cover: You should cover your fire pit when it is not in use. A waterproof cover protects the burner and components from rain, snow, dirt, and sun. Moisture is the enemy; it can corrode metal parts and cause porous lava rock to crack or pop when heated.
- Inspect Regularly: Once or twice a season, you should visually inspect the gas connections for any signs of corrosion or damage.
- Clean the Media: You can remove and wash fire glass with mild soap and water to keep it sparkling. You must allow it to dry completely before you return it to the fire pit.
A More Convenient Alternative to Natural Gas
A natural gas fire pit is a fantastic investment for homes with existing gas lines. However, not everyone has natural gas access, and many homeowners prefer to avoid the complexity and cost of professional installation. If you're looking for a simpler, portable option, a propane gas fire table might be the better choice.
Bali Outdoors®specializes in high-quality propane fire tables that require no professional installation, no trenching, and no permits. Simply connect a propane tank and enjoy instant warmth. Explore our collection to see how easy outdoor fire can be. For more details, see our guide on choosing corner vs center placement.
5 FAQs about Fire Pit Essentials
Q1: What is the Best Height for a Fire Pit?
The ideal height for a fire pit is between 16 and 18 inches high. This is similar to a coffee table's height, making it convenient for placing beverages and allowing for comfortable seating in chairs for relaxation while watching the fire.
Q2: Will a fire pit affect your insurance premiums?
It could. You should let your homeowner's insurance company know before installing a fire pit – especially if it's a fixed, natural gas-fired feature. Some insurance companies might view it as an "attractive nuisance," which could raise your premiums slightly, while others may simply require you to follow local safety regulations for it to be covered under your existing homeowner's insurance.
Q3: What do I need to know about natural gas fire pit installation?
Natural gas fire pits must be installed by a licensed professional. The plumber will trench and run a gas line from your meter to the fire pit location, install a shut-off valve, and connect the burner.
Proper ventilation is critical: you need at least two vents (18 square inches each) near the top of the enclosure to allow any leaked gas to escape and heat to dissipate. After installation, a soapy water leak test is required to ensure all connections are safe.
Q4: What's the difference between natural gas and propane fire pits?
Natural gas fire pits connect permanently to your home's gas line, providing unlimited fuel without refills. However, they require professional installation, underground gas line trenching, and local permits.
Propane fire tables use portable tanks. They require no installation, no permits, and can be set up in minutes. You can also move them anywhere on your patio. The trade-off is that you need to refill or replace propane tanks periodically.
Q5: Natural gas vs propane—which is better?
It depends on your situation.
Natural gas is ideal if you have an existing gas line and want a permanent installation. It provides unlimited fuel but requires professional installation and permits.
Propane is perfect if you want convenience and portability. No installation, no permits—just connect a tank and you're ready to go. Most homeowners choose propane for its simplicity and flexibility.