There's something special about gathering around a fire when it's cold outside. The crisp air, crackling logs, and heat from the flames create an atmosphere you just can't get in your kitchen. This winter, try cooking hearty stews and hot soups right over the open flames.
Fair warning: this isn't quick weeknight cooking. You'll need a few hours and some attention. But the flavor you get from wood smoke? Totally worth it.
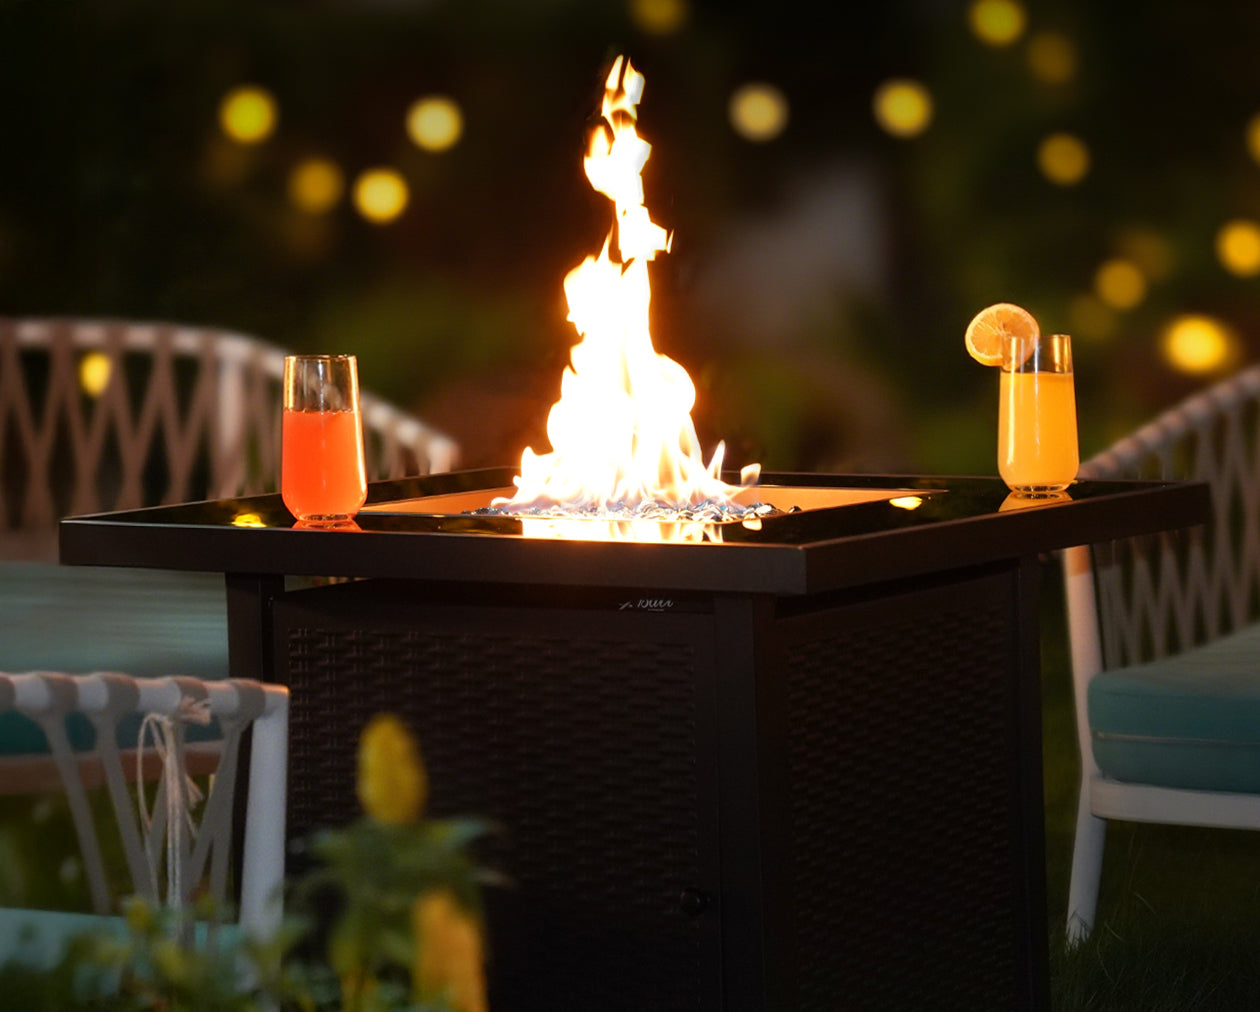
Pick the Right Fire Pit for Cooking
A basic fire pit keeps you warm, but a model built for cooking gives you better heat management. For winter cooking, you need stability and ways to adjust your cooking temperature.
Wood fire pits don't have thermostats like gas grills, but you can still manage heat effectively with the right features. Look for a wood burning fire pit with an adjustable cooking grate. A grate that swivels 360 degrees—like the one on the Bali Outdoors wood burning fire pit—makes heat management more convenient. You can swing your pot away from direct flames without lifting heavy cookware. Being able to raise and lower the grate lets you adjust the temperature, which helps prevent your stew from scorching.
You can also control heat by raking coals to one side or adding/reducing wood, but an adjustable grate makes the process smoother.
Go for a deep fire bowl too. A deeper bowl holds more wood and creates a longer-lasting bed of coals. That steady heat is what you need for slow-cooking soups and stews on chilly nights.

Get the Right Gear
Before you light the fire, grab the right tools. Cooking over a wood fire needs tougher equipment than your regular stove.
Cast Iron Dutch Oven
This is your most important tool. Cast iron holds heat really well, which smooths out the hot and cold spots from a live fire. Get a 6-8 quart Dutch oven—you'll want the extra room for family-sized batches. Make sure it has a tight-fitting lid to keep ash out of your food.
Heat-Resistant Gloves
Regular oven mitts don't provide enough protection for open fire cooking. Get heavy-duty leather or welding gloves that go up to your elbows. You'll need them when sparks fly or when you're handling hot metal.
Long-Handled Utensils
Pick up a stainless steel ladle and a long wooden spoon. The extra length means you can stir without getting too close to the fire.
Fire Tools
A sturdy poker and log tongs are must-haves. You'll need to move logs around and rake coals to control the heat. That's how you maintain a steady simmer.
Make Beef Stew Over the Fire
Beef stew just hits different in winter, and cooking it over wood smoke adds flavor you can't get from a slow cooker. Here's how to do it.
What You Need (Serves 4-6):
- 2.5 lbs beef chuck, cut into 2-inch chunks
- 2 tablespoons vegetable oil
- 1 large onion, diced
- 3 carrots, cut into chunks
- 3 celery stalks, chopped
- 4 cups beef broth
- 2 tablespoons tomato paste
- 3 medium potatoes, cubed
- 2 bay leaves
- 1 teaspoon dried thyme
- Salt and pepper to taste
Step 1: Get Your Fire Ready
Start your fire 60-90 minutes before you want to cook. In winter, it takes longer to build up good coals. You want a solid bed of glowing embers, not big flames shooting up.
Use hardwoods like oak, hickory, maple, or other local hardwoods available in your area. They burn hot and steady. Skip the pine and other softwoods—they burn too fast, produce excessive smoke, and create inconsistent heat. If excessive smoke is a concern, consider reading our guide on smokeless vs traditional fire pits. Browse our fire pit cooking accessories to find the perfect fit for your outdoor space.
Step 2: Sear the Beef
Put your Dutch oven on the grate right over the hottest coals. Add oil and wait until it shimmers. Sear your beef chunks in batches—don't crowd the pot. You're looking for a dark brown crust on the meat. Set each batch aside in a bowl while you finish the rest.
Pro tip: If your grate is clean, you can sear the meat directly on the grill bars for extra char flavor, then drop it in the pot.
Step 3: Build the Stew
Toss the onions, carrots, and celery into the pot. Stir them around for a few minutes. Add the beef back in, along with broth, tomato paste, bay leaves, thyme, salt, and pepper.
Once it starts bubbling hard, you need to lower the heat. If you have a swivel grate, swing the pot away from the center of the fire. You can also raise the grate higher or use your poker to rake hot coals to one side, creating zones of different heat.
You want gentle bubbles breaking the surface every few seconds—not a rolling boil.
Cover the pot and let it cook for 2.5-4 hours, depending on your cut of beef. Spin the pot a quarter turn every 30 minutes so everything cooks evenly. For more details, see our guide on fire pit cooking recipes and tools.
How to tell if the heat's right: See small bubbles popping up occasionally? Perfect. Looks like it's boiling hard? Move it further from the fire or raise the grate.
Step 4: Finish It Off
About 45 minutes before you're ready to eat, add the potatoes. If your fire's dying down, toss in a few smaller pieces of wood to bring the heat back up—just don't create a huge flare-up.
The stew's done when the meat falls apart easily with a fork and the potatoes are tender.
Make Fire-Roasted Tomato Soup
Roasting the vegetables over your fire pit turns basic tomato soup into something special. The charring process infuses the vegetables with smoky flavor from the inside out.

What You Need (Serves 4-6):
- 8 medium tomatoes
- 2 red bell peppers
- 1 large onion, quartered
- 4 garlic cloves, unpeeled
- 1 can (14 oz) crushed tomatoes
- 3 cups vegetable or chicken broth
- 1 cup heavy cream
- Fresh basil leaves
- Salt and pepper to taste
- Olive oil for drizzling
Step 1: Char the Vegetables
Place whole tomatoes, bell peppers, onion quarters, and garlic cloves directly on the grill grate. Let them sit there while the fire chars the skins. You want them blistered and black in spots—the heat drives smoky compounds into the flesh of the vegetables.
This takes about 15-20 minutes. Turn them once or twice. The outsides will look burnt, but that's exactly what creates the flavor.
Step 2: Peel and Simmer
Peel off the blackest charred skin (it can taste bitter), but don't worry about getting every bit—some char adds character. The smoky flavor is already inside the vegetables. Drop the roasted veggies into your pot. Squeeze the garlic out of its skin and add it too.
Pour in the canned tomatoes and broth. Raise your grate or move the pot to medium heat. Let this simmer for 40 minutes, stirring now and then. For more details, see our guide on converting your fire pit for grilling.
Step 3: Make It Creamy
Use a potato masher to break everything down until it's mostly smooth with some texture. (Skip the immersion blender—you're outdoors and probably don't have power anyway.)
Stir in the heavy cream and tear up some fresh basil. Taste it and add salt and pepper.
Serve this with grilled cheese sandwiches you can toast right on the fire pit grate.
Stay Safe
Cooking over fire takes attention, but it's not dangerous if you follow basic rules. For instance, understanding fire pit laws by state is essential before you even light up.
Watch the Wind
Before you light up, see which way the wind's blowing. You don't want smoke in your face the whole time, and you definitely don't want embers flying toward your house or dry leaves.
Stable Setup
Make sure your fire pit sits on level, non-combustible ground like concrete, stone, or bare dirt. If you're wondering, "can you put a fire pit on a wood deck?", our safety guide provides detailed answers. For the fire pit itself, look for models with solid tripod legs or a wide circular base—you don't want a pot full of hot stew tipping over.
Stay in the Area
Never leave your yard while the fire is burning. You don't need to hover over it constantly, but stay close enough to see and hear what's happening. Check it every 10-15 minutes to stir the pot and monitor the flames.
Have Water Ready
Keep a bucket of water or a fire extinguisher within arm's reach.
Keep Food Safe
Keep raw meat away from the heat until you're ready to cook it. Even though it's cold outside, meat left near the fire can warm up to unsafe temperatures. Also, watch out for curious animals. For comprehensive guidance, consult our fire pit safety guide for kids and pets.
What If Something Goes Wrong?
Bottom of the stew is burning:
Your fire's too hot or you're not stirring enough. Raise the grate, move the pot to the edge, or rake coals away. Add a splash of broth and scrape the bottom with your wooden spoon.
Fire died out:
Add small pieces of dry wood. Don't dump on huge logs—you'll create too much smoke and drop the temperature even more. Small pieces catch faster.
Soup's too thin:
Let it simmer uncovered for 15-20 minutes to reduce. Or mash in a cooked potato to thicken it naturally.
Meat's still tough after 3 hours:
Some cuts need longer. Add more broth if it's getting dry, and give it another 30-60 minutes. Chuck roast can take anywhere from 2.5 to 4 hours to get tender.
Pot handle is too hot to grab:
This is why you need those long welding gloves. Regular oven mitts won't cut it. If you don't have proper gloves, use your log tongs to adjust the pot position.
Winter Cooking Tips
Plan Your Time
If you're serving dinner at 6 PM, light your fire by 3 PM. That gives you 60-90 minutes for coals, 2-4 hours for cooking, and buffer time for problems.
Prep Inside
Chop all your vegetables and measure ingredients in your warm kitchen. Nobody wants to dice onions with frozen fingers. Bring everything outside in bowls covered with foil.
Keep Things Warm
Once the stew's done, you can move it to the edge of the fire pit to stay hot (not simmering, just warm) while you wait for everyone to gather.
Snow and Light Rain
A little moisture won't hurt, but heavy precipitation makes fire management tough. If it's really coming down, wait for a better day. Wind is more manageable than rain.
Clean Your Dutch Oven Right Away
Don't leave your cast iron outside overnight—it'll rust in the damp air. Clean it while it's still warm (use hot water, no soap), dry it completely, and rub a thin layer of oil on it. Do this right after dinner, not the next morning.
Ready to Start?
Cooking outside in winter gets you out of the house and brings back the simple pleasure of fire and good food. Whether you're searing beef for stew or charring tomatoes for soup, the wood smoke makes a real difference.
The right equipment makes this manageable and enjoyable. A good fire pit like Bali Outdoors' models with an adjustable grate gives you better management over your cooking temperature. A swivel feature adds convenience, though you can still cook great food by managing your coals with a poker.
Grab your family, light the fire, and see what a difference it makes this winter.
3 FAQs about Campfire Cooking
Q1: Can I use my regular pots from the kitchen?
We recommend that you don't risk it. Most kitchen pots have plastic handles that'll melt, and thin metal warps over fire. For a better result and for safety, stick with cast iron or heavy camping cookware designed for direct heat.
Q2: How do I know if my fire's the right temperature?
For simmering, you should see small bubbles popping up every few seconds—not a hard boil. If it's bubbling like crazy, move the pot away from the center or raise the grate. For boiling (like when you first add the broth), you want bigger, constant bubbles.
Q3: How do I clean the grate?
Do it while it's still warm (but not red hot). Scrub with a wire brush to knock off stuck food. Once it cools, wipe it down and rub on a thin layer of cooking oil to prevent rust.