When you leave your fire pit outside without protection, harsh weather causes rust, blocks the burners, and cracks the surface. Prepare now to keep your fire pit in working condition for years to come.
Should I Store Or Use My Fire Pit in Winter?
It depends on your climate and fire pit type.
1. Assess Your Climate
- If you live in heavy snow zones, store your fire pit indoors.
- If you're in rainy areas, keep it outside with a good cover.
- For mild climates, you can use it year-round with basic maintenance.
Heavy Snow Zones - Store Indoors
Areas like the Upper Midwest (Minnesota, Wisconsin), Northeast (upstate New York, Vermont), and Mountain States (Colorado, Wyoming) get 50+ inches of snow per season with temperatures below 0°F.
Snow piles up and traps water against metal, which accelerates rust. The freeze-thaw cycle (when water repeatedly freezes and melts) is particularly damaging—water seeps into small cracks, freezes, expands, and breaks the material. Even with covers, accumulated snow weight can damage the structure.
Rainy Zones - Keep Outside with Cover
The Pacific Northwest (Seattle, Portland) and Northern California Coast see 150+ rainy days yearly but rarely freeze.
Water causes rust on metal parts, but a quality polyester cover prevents this. Since there's no snow accumulation, you don't have to worry about weight damage.
Mild Zones - Keep Outside, Use Year-Round
Southern states (Texas, Georgia), Southwest (Arizona, Southern California), and Coastal South (Florida, Gulf Coast) have occasional freezing at most.
The main concern is humidity, which regular cleaning handles easily.
2. Assess Your Fire Pit Type
Some fire pits handle winter better than others.
Can Stay Outside in Winter (With Cover): For more details, see our guide on drying and testing your fire pit after rain.
- Stainless steel fire pits resist rust well
- Powder-coated steel fire pits work if the coating has no chips
- Copper fire pits develop a protective patina
- Gas fire tables and wood burning bowls are fine, though gas models need more maintenance
Must Store Indoors:
- Cast iron fire pits have no protective coating and rust quickly when wet
- Ceramic/clay fire pits and chimineas are porous—water seeps in, freezes, expands, and cracks the material
- Stone/concrete fire pits in snow zones face the same cracking issue. Built-in units can't be moved, so apply weatherproof sealant as your only protection option.
How to Clean the Fire Pit Before Winter
Never cover a dirty fire pit. Ash, food bits, or soot trapped under a cover create the perfect environment for mold and rust.

Cleaning a Wood Burning Fire Pit
Ash contains acid that eats through metal when it gets wet.
- Remove Debris: Shovel out all cold ashes into a metal bucket. Ash can stay hot for 24 hours.
- Scrub the Bowl: Mix 2 tablespoons of dish soap per gallon of warm water. Use a soft-bristle brush to scrub in circular motions. Steel wool scratches the finish and creates spots where rust can start.
- Rinse and Dry: Rinse thoroughly with a hose, then flip the bowl upside down so water drains completely. Let it dry in sunlight for 4-6 hours. Make sure the metal is completely dry to the touch.
Cleaning a Propane Fire Pit
Gas lines and igniters get damaged by moisture, so the cleaning process needs extra care.
- Turn Off Gas: Turn the propane tank valve clockwise until it stops. Disconnect the regulator hose—you'll hear a hiss as remaining pressure releases.
-
Clean Fire Media:
- Lava rocks: Rinse with water and let air dry for 24 hours
- Fire glass: Soak in warm soapy water for a few minutes, swish to remove soot, rinse thoroughly, then air dry for 24 hours
- Clear Burner Ports: These small holes along the burner ring often get clogged with spider nests. Use a toothbrush or pipe cleaner to clear each one. Metal objects can enlarge the holes and cause uneven flames.
- Wipe Surfaces: Use a damp cloth with mild detergent on the table and side panels. Keep the burner and control valve area dry since water damages igniters.
- Test for Gas Leaks: Mix 1 tablespoon dish soap per cup of water in a spray bottle. Reconnect the gas line and open the tank valve slightly without lighting the burner. Spray the solution on all connections and fittings. You'll see bubbles if there's a leak. If bubbles appear, disconnect, reconnect tighter, and test again. If the leak persists, replace that part before using the fire pit again.
- Check the Hose: Run your hand along the entire hose, feeling for cracks or stiff spots. Bend it—it should flex smoothly. Replace if damaged. Check your hose regularly for signs of wear.
- Test the Igniter: Press the button and listen for clicking. No sound means the battery needs replacing (usually a standard AA). If it still doesn't click after a new battery, the igniter needs replacement.
Best Fire Pit Covers for Winter Protection
Use durable 600D polyester covers, not vinyl or tarps.
Polyester breathes—air circulates so moisture escapes while rain and snow stay blocked out.
What to Look For
- Material: Look for thick, durable polyester with water-resistant coating. This material won't crack in freezing temperatures.
- Secure Fit: The cover needs drawstrings, buckles, or elastic edges that grip the legs firmly. Test by pulling up—it should resist lifting off easily. Winter winds can gust over 40 mph.
- Right Shape: Round fire pits need round covers. Square tarps leave gaps where water seeps in. Measure your fire pit first—diameter for round models, length and width for rectangular ones. The cover should hang 2-3 inches below the fire bowl rim for proper protection.
- Ventilation: Look for mesh vent panels, usually near the top. These allow trapped moisture to escape while still blocking rain from above.
How to Install Cover Properly
Step 1: Wait until the fire pit is completely cool. Touch the surface—if it feels even slightly warm, give it more time.
Step 2: Create a tent shape by placing an inverted bucket or partially inflated ball under the cover's center. This forces water and snow to slide off instead of pooling. A flat cover with several inches of wet snow can accumulate enough weight to stretch or tear the material.
Step 3: Fasten every strap and drawstring, then check weekly after storms to remove any accumulated snow or standing water from the top.

How to Store Propane Tanks and Fire Pits Safely
Never store propane tanks indoors—not in basements, attached garages, or poorly ventilated sheds. If a tank valve leaks, propane is heavier than air. It sinks and pools on the floor, where any spark from a pilot light, light switch, or furnace can ignite it.
The fire pit unit can go indoors once you remove the tank. For more details, see our guide on winterizing your fire table surface.
How to Store the Tank
- Turn the valve clockwise until it stops. Disconnect the regulator hose by turning counterclockwise.
- Store the tank upright outside in a well-ventilated area, away from direct sunlight and snow drifts. Keep it away from electrical equipment and any flame sources.
- Put the dust cap back on the valve threads to keep them clean.
Tip: Propane remains usable in cold weather down to approximately -40°F, so typical winter temperatures won't affect performance.
Storing the Fire Pit Unit
Once the tank is removed, you can safely move the unit indoors. A garage or shed is the best option since it protects the finish from sun damage, snow weight, and constant moisture. Make sure the unit is completely dry before moving it inside.
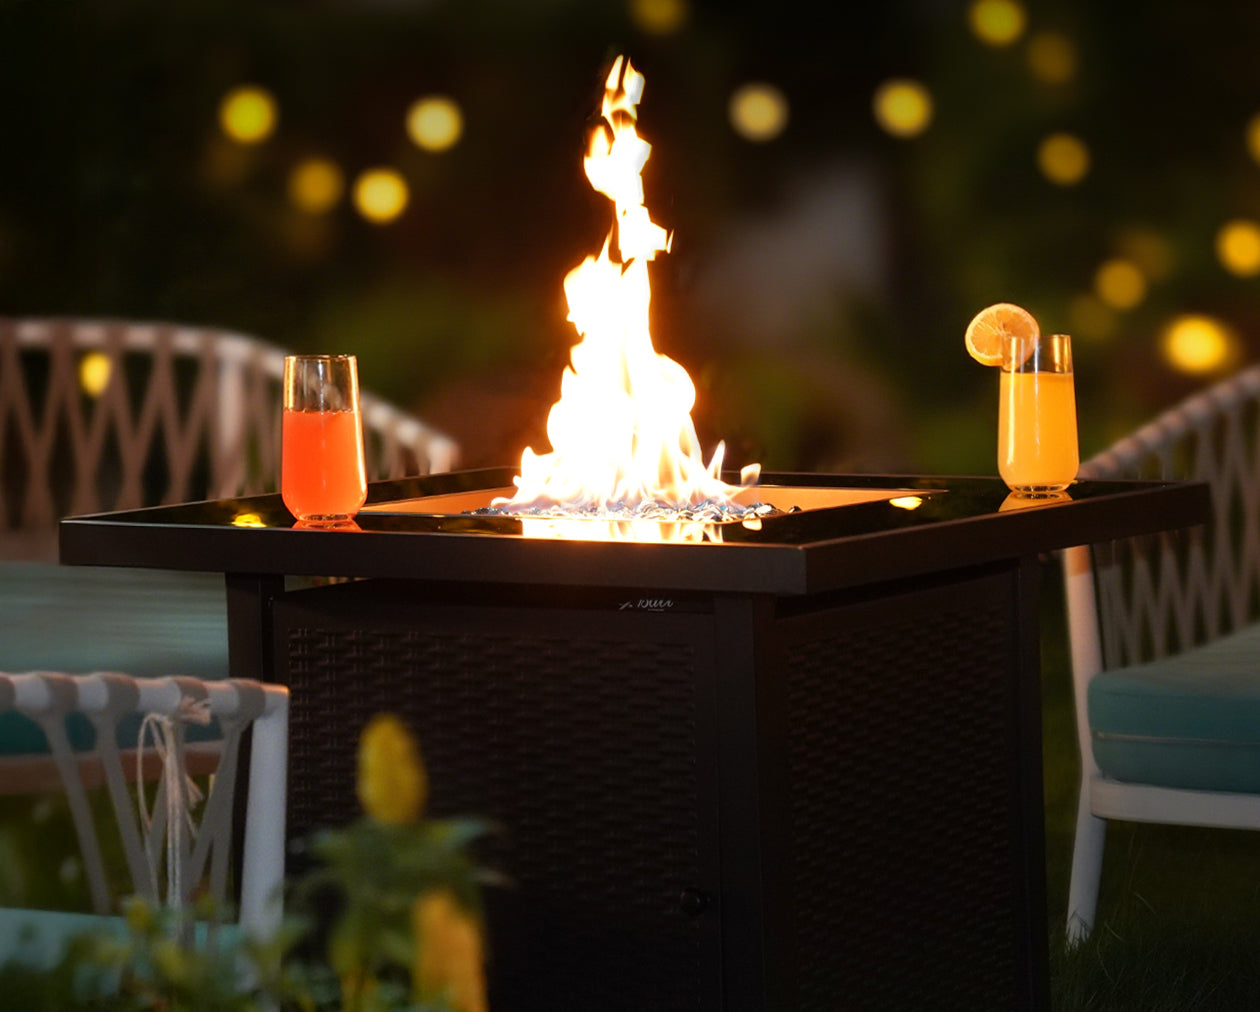
If the fire pit stays outside, move it to a protected spot under a patio roof or against a wall that blocks the prevailing wind. Apply your cover securely. Browse our fire pits to find the perfect fit for your outdoor space.
Remove any glass tops and wind guards to store separately indoors. Wrap them in blankets and keep them in a secure location. Even small impacts can shatter glass in cold weather.
How to Use Fire Pit Safely in Cold Weather
If your local climate allows you to use fire pits in winter, you can enjoy the delightful fire pit, but don't forget to follow safety checks every time.
Before Lighting
- Clear a 10-foot radius around the fire pit. Remove all snow and ice to prevent slipping and keep flammable materials away from sparks.
- Check the burner ports and ignition system for ice buildup. If you see ice, let it melt naturally or use a hair dryer on low setting. Don't chip at it—you'll damage the metal.
- Make sure ventilation openings aren't blocked by snow. The fire pit needs oxygen to burn properly.
- Check the wind conditions. If wind speed exceeds 15 mph, postpone your fire. Strong winds blow sparks and embers into unwanted areas, creating fire hazards.
When Lighting
If you have ceramic, stone, or glass components, start the flame on low and let everything warm gradually for 5-10 minutes before turning to high heat. Sudden temperature changes cause these materials to crack.
For wood burning fire pits, use seasoned hardwoods (dry wood with low moisture content) like oak, hickory, or maple. These burn hotter and produce less smoke than pine and other softwoods, which create excessive creosote buildup.
Keep flames at 2-3 feet high. Larger fires are harder to control and increase the risk of accidents.
Never leave the fire unattended. Keep a fire extinguisher or water source nearby. For more details, see our guide on choosing the right protective cover.
After Use
Let the fire pit cool completely—wait several hours. Covering while still warm traps heat and moisture inside.
For wood burning fire pits, remove ash promptly after it cools. Leftover ash holds moisture against the metal and accelerates rust.
Winter Maintenance Checklist
Weekly (If Using Regularly)
Clear snow and ice from the cover after each storm. Check that the cover is secured tightly and hasn't loosened. Remove any leaves or debris that have accumulated.
Monthly
Inspect for rust spots. Small areas under 1 inch can be fixed easily—sand with fine-grit sandpaper until bare metal shows, wipe clean, then apply high-heat spray paint that matches your fire pit's color. Regular paint peels immediately when the fire pit heats up, so high-heat paint is essential.
Check gas hoses for cracks or brittleness if you have a gas model. Look for any areas where the hose doesn't flex smoothly.
Check drainage around and under the fire pit. Water shouldn't be pooling anywhere.
Before First Use After Storage
Remove the cover and inspect all parts carefully. Check for spider webs in burner ports on gas models—spiders commonly build nests there during dormant periods.
Test for gas leaks using the soap and water method described earlier. Clean off any accumulated dust or debris. For wood burning fire pits, inspect the bowl for new cracks or rust damage that developed over winter.
Conclusion
Three things make your fire pit last: control moisture, disconnect gas tanks when storing, and use proper covers.
Whether you pack it away or keep it outside depends on your climate and fire pit type. Heavy snow zones need indoor storage. Rainy and mild zones can keep fire pits outside with proper polyester covers that breathe while blocking precipitation.
Bali Outdoors® offers durable, weather-resistant fire pit covers designed specifically for fire pit winter protection. Check our covers that use heavy-duty polyester with proper ventilation to prevent moisture buildup while blocking rain and snow.